
 Blog
Blog
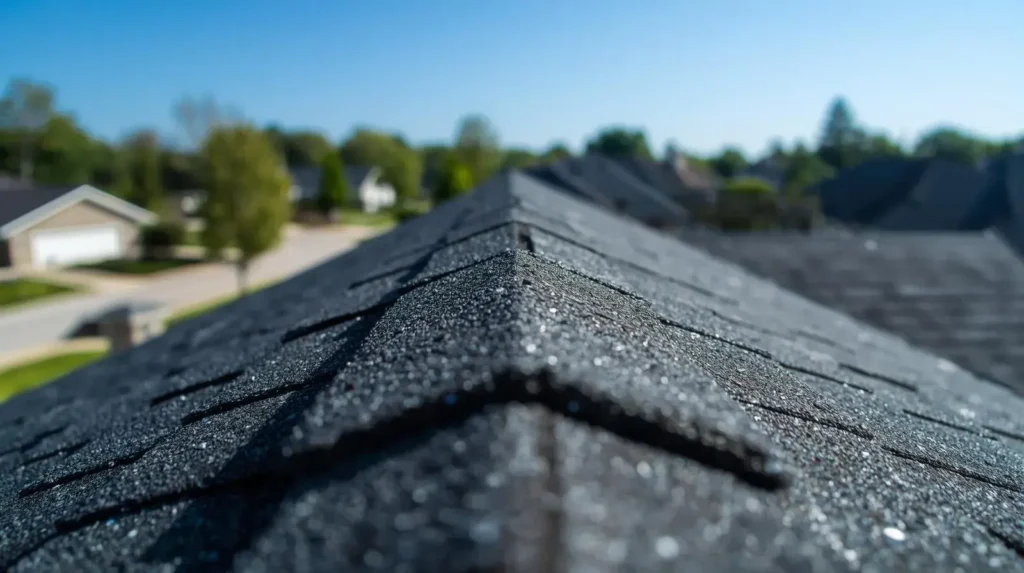
Installing a durable roof ensures the safety and protection of your home. Many homeowners wonder how to install asphalt roof shingles correctly. Using high-quality shingles and proper techniques increases longevity and reduces maintenance needs. Asphalt shingles are popular in the USA due to their affordability, ease of installation, and reliable performance in various weather conditions. Understanding the installation process helps prevent leaks, curling, and premature damage. Preparing your roof surface, using the right tools, and following systematic steps ensures a smooth, professional-looking finish. This guide provides clear, step-by-step instructions to help homeowners and contractors achieve maximum durability with asphalt shingles efficiently and safely.
Preparing the Roof Surface for Shingles
Before installing asphalt shingles, the roof surface must be clean, smooth, and ready. Remove any old materials and ensure the decking is sturdy enough to support new shingles. Inspect for any loose nails or boards and replace them promptly. Applying a high-quality underlayment improves protection against moisture and helps shingles last longer. Products from AGP Drywall: Where Perfection Begins can provide excellent surface preparation solutions. Properly sealing and aligning the underlayment ensures shingles stay in place during harsh weather. Taking time to prepare the roof correctly prevents future issues. A clean, flat surface is essential for achieving a professional-looking roof that lasts for decades.
Installing Starter Strips and First Shingle Row
Begin by installing starter strips along the roof edges to provide a secure base. Align strips evenly, ensuring they overhang slightly to guide water away from the roof deck. Next, place the first row of asphalt shingles over the starter strips. Make sure each shingle overlaps slightly, maintaining consistent spacing between them. Fasten shingles with corrosion-resistant nails, positioning them properly to avoid lifting or shifting. Double-check the alignment after every few shingles to maintain straight lines. Installing shingles correctly from the first row sets the stage for the rest of the roof. Patience and accuracy during this step ensure long-lasting protection and improved roof performance.
Laying Shingles Across the Roof
Continue installing shingles row by row, staggering seams for a stronger roof structure. Overlapping shingles correctly prevents leaks and adds visual appeal to your roof design. Use chalk lines to maintain straight rows and consistent spacing throughout the roof surface. Cut shingles to fit edges, valleys, or around roof fixtures carefully, ensuring no gaps remain. Always check manufacturer instructions for proper nail placement and shingle orientation. Using consistent techniques reduces mistakes and increases roof longevity. Keep extra shingles handy for trimming and adjustments. Staggering, aligning, and properly fastening shingles is essential for maximum durability and protection against wind, rain, and extreme weather conditions.
Securing Roof Valleys and Ridges
Roof valleys and ridges require special attention when installing asphalt shingles. Valleys handle the highest water flow, so apply metal flashing or a double layer of shingles for extra protection. Ridges should have shingles that overlap correctly on both sides, secured with nails or ridge caps. Proper installation prevents water seepage, wind uplift, and long-term damage. Ensure consistent spacing and alignment along ridges to maintain uniform appearance. Inspect each section carefully before proceeding to the next row. Taking time to secure these critical areas adds years of durability to your roof. Following manufacturer guidance ensures shingles remain stable even during harsh storms.
Finishing Touches for Maximum Durability
Once shingles are fully installed, inspect the roof for missing nails, loose edges, or uneven shingles. Trim any overhanging shingles and ensure flashing is secure around chimneys, vents, or skylights. Clean up debris to prevent damage or blockage in gutters. Applying roofing cement to minor gaps enhances waterproofing and improves durability. Regular maintenance checks help maintain roof performance, especially after storms. Proper ventilation beneath shingles prevents heat buildup and prolongs their lifespan. Following these final steps ensures your asphalt roof is strong, visually appealing, and long-lasting. A well-installed roof adds significant value and protection to any home.
Frequently Asked Questions
How long do asphalt shingles last?
Properly installed shingles can last 20 to 30 years.
Can I install shingles myself?
Yes, but following safety rules and manufacturer instructions is vital.
Do I need extra underlayment?
Extra layers increase durability and prevent water damage during heavy rains.
How do I maintain a shingled roof?
Inspect for loose or damaged shingles and clean debris regularly.
Conclusion
Learning how to install asphalt roof shingles properly ensures a durable, long-lasting roof. Proper preparation, accurate alignment, and attention to critical areas like valleys and ridges increase longevity. Using quality materials and following manufacturer guidelines reduces future issues significantly. Regular maintenance and inspection help retain roof performance and aesthetic appeal. Asphalt shingles are a reliable choice for homeowners seeking affordable protection and visual enhancement. By carefully following step-by-step installation instructions, any homeowner or contractor can achieve professional results. A well-installed roof protects the home for decades, ensuring peace of mind, safety, and added property value.
