 Blog
BlogTaping drywall joints is more than just a routine step in finishing walls. It is the foundation of a smooth, professional-looking surface that lasts for years. Without careful drywall joint taping, walls can end up with visible seams, bumps, or uneven textures, making even the most stylish room appear unfinished. Whether you are a seasoned contractor or a DIY enthusiast, understanding the importance of proper preparation before taping joints drywall is crucial for achieving consistent, high-quality results.
Understanding the Basics of Taping Drywall Joints
Before diving into advanced techniques, it is essential to grasp the fundamentals of drywall joint taping. At its core, this process involves applying a thin layer of joint compound over the seams between drywall panels and embedding tape to strengthen the joint. This not only reinforces the connection between sheets but also prevents cracks from forming over time.
The Role of Joint Compound
Joint compound acts as a bonding agent for the tape. A well-mixed compound ensures that the tape adheres properly and creates a flat surface for subsequent finishing layers. Using the right consistency is key. Too thick, and the compound will crack; too thin, and it will not support the tape effectively. Professionals often prefer lightweight joint compounds for easier handling and faster drying times.
Choosing the Right Tape
There are different types of tape available, including paper and fiberglass mesh. Paper tape is traditional and provides a smooth finish when embedded correctly, while fiberglass mesh offers added strength and is self-adhesive. Selecting the correct tape type depends on the project and personal preference, but either option can yield excellent results when combined with proper preparation.
Essential Steps for Preparing Drywall Joints
Proper preparation is what separates a professional drywall job from a mediocre one. Attention to detail at this stage makes taping joints drywall much more effective.
Cleaning and Inspecting the Seams
Before applying any tape or compound, make sure all seams are free of dust, debris, and uneven edges. Small gaps or protruding edges can cause bumps or bubbles once the tape is applied. Running a light sanding block along the joint ensures a smooth base and enhances adhesion.
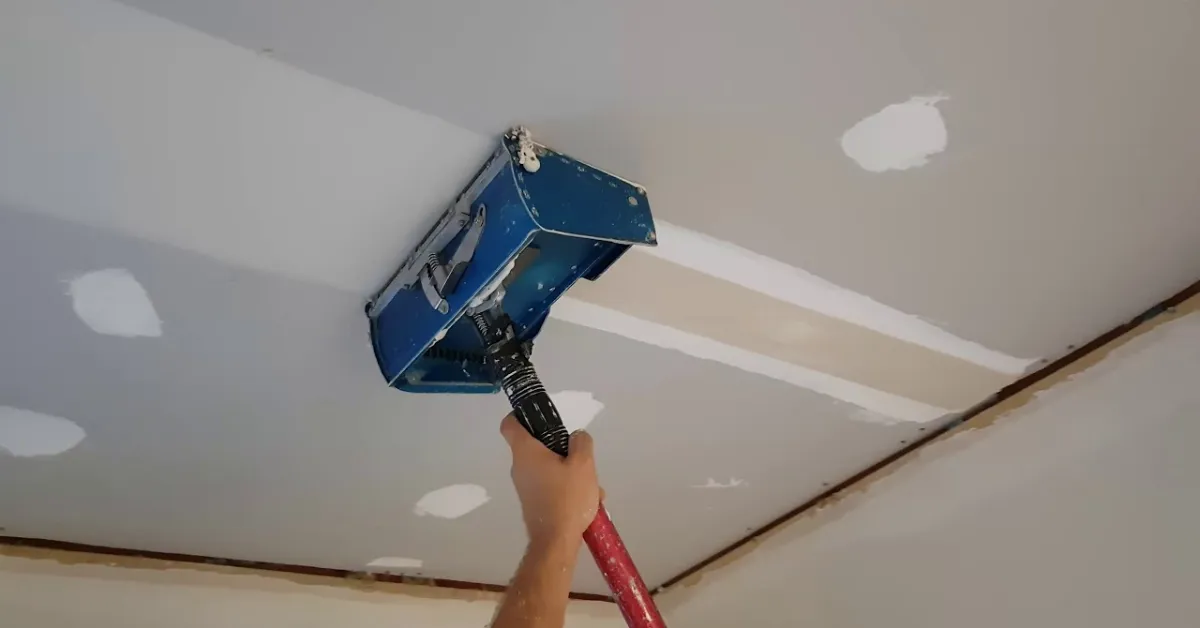
Applying the First Layer of Compound
A thin, even coat of joint compound should cover the seam before laying the tape. This layer acts as a bed for the tape and fills minor imperfections. Use a broad drywall knife to spread the compound evenly, and remove excess material to prevent lumps. Patience at this stage pays off in the final appearance of the wall.
Techniques to Achieve Seamless Drywall Finishes
Even with perfect preparation, poor application can ruin the finished wall. Mastering technique is just as important as preparation when taping joints drywall.
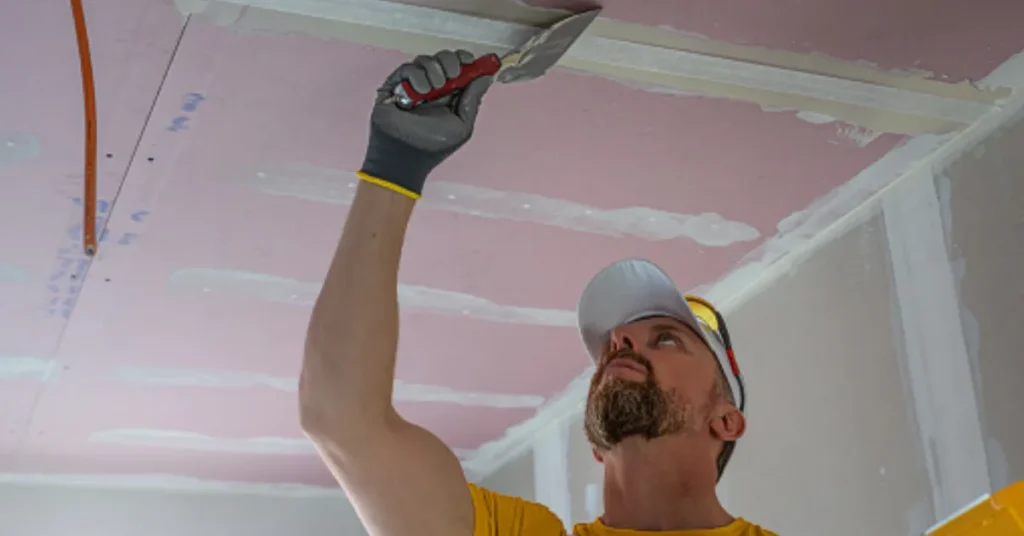
Embedding the Tape
Place the tape along the seam and press it firmly into the wet compound. Use a drywall knife to smooth out air bubbles and excess compound. Proper embedding ensures that the tape is flush with the wall surface, reducing the risk of ridges and cracks.
Feathering the Edges
After embedding the tape, feather the edges of the compound outward to blend seamlessly with the surrounding drywall. This gradual transition prevents visible lines and makes sanding easier. Multiple thin layers are preferable to one thick layer, as they dry more evenly and reduce shrinkage.
Drying and Sanding
Allow each layer to dry completely before applying the next. Sand lightly with fine-grit sandpaper to remove imperfections, but avoid over-sanding, which can damage the tape. A smooth, even surface sets the stage for paint or wallpaper without highlighting seams.
Common Mistakes and How to Avoid Them
Even experienced professionals can fall into pitfalls that compromise the final finish. Being aware of these mistakes can save time and frustration.
Skipping Surface Preparation
Rushing through cleaning or failing to inspect seams can lead to adhesion problems. Always take the time to prepare surfaces thoroughly.
Applying Excessive Compound
Using too much joint compound can result in uneven surfaces and longer drying times. Stick to thin layers and build gradually.
Ignoring Tape Selection
Choosing the wrong type of tape for a particular joint can weaken the seam. Match the tape to the project’s needs and the type of drywall used.
Not Allowing Proper Drying Time
Patience is critical. Skipping drying time or rushing sanding steps can cause cracks, bubbles, or uneven finishes that are difficult to fix later.
Maintenance Tips for Long-Lasting Walls
Maintaining walls after proper drywall joint taping ensures they remain flawless for years.
- Inspect walls periodically for small cracks and address them before they spread
- Avoid excessive moisture near taped joints, as this can weaken the compound
- Use gentle cleaning methods to prevent damage to the surface finish
- Consider occasional touch-ups for high-traffic areas to maintain a smooth look
FAQs
What is the best type of tape for drywall joint taping?
Paper tape is excellent for smooth finishes, while fiberglass mesh tape provides extra strength. Both types work well when joints are prepared correctly.
Can I apply paint immediately after taping joints drywall?
No, each layer of joint compound must be fully dry and sanded before painting. Rushing this process can highlight seams and imperfections.
How many layers of compound should I apply over taped joints?
Typically, two to three thin layers are sufficient. This ensures a smooth surface and prevents cracking.
Is sanding necessary after taping drywall joints?
Yes, light sanding between layers helps remove minor bumps and creates a seamless finish. Avoid over-sanding to protect the tape.
Can drywall joint taping be done on corners?
Absolutely. Special corner tapes or foldable paper tape can reinforce outside and inside corners effectively. Proper embedding and feathering are essential for a flawless result.
Conclusion
Taping drywall joints is an art as much as it is a science. Proper preparation, careful application, and patience throughout the process determine whether walls look professional or amateur. By following the correct steps and avoiding common mistakes, any project can achieve smooth, durable walls that enhance a space. For homeowners and contractors aiming for excellence, trusting the expertise of companies like AGP Drywall Joints ensures that every seam is treated with precision and care. Proper drywall joint preparation is the foundation for lasting quality, and taking the time to do it right will pay off in the finished result.
