 Blog
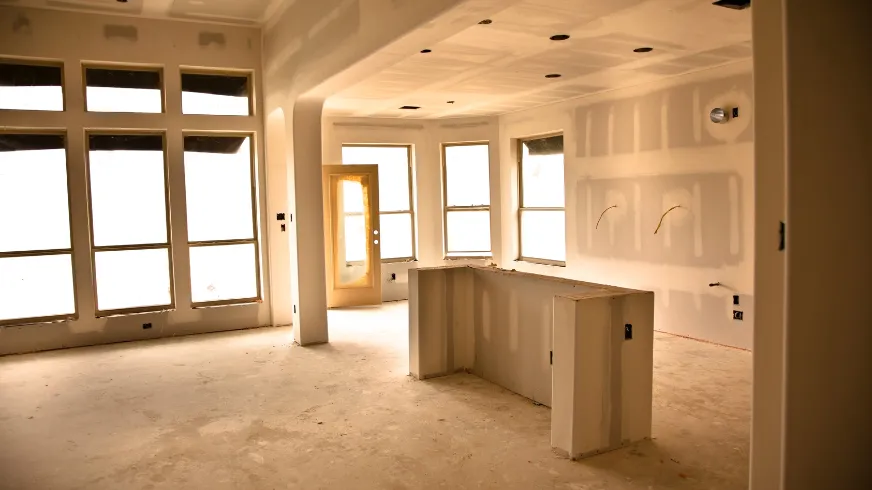
BlogSheetrock installation is a key part of residential and commercial construction projects. Sheetrock, a brand name often used interchangeably with drywall, forms the foundation for your interior walls and ceilings. Installing it properly ensures a smooth surface for painting and finishing, enhances structural integrity, and improves the overall appearance of your space.
What is Sheetrock?
Sheetrock is a type of drywall made from a gypsum plaster core sandwiched between two heavy-duty paper sheets. It is widely used for interior wall and ceiling construction due to its cost-effectiveness, fire resistance options, ease of installation, and smooth, paint-ready surface.
Preparation Before Installation
Proper preparation is essential for successful sheetrock installation. Begin by inspecting the framing to ensure all studs and ceiling joists are straight, aligned, and properly spaced, typically 16 inches on center. Mark the location of all studs, plumbing lines, and electrical boxes to guide cutting and screw placement during installation. Ensure that insulation, electrical wiring, and plumbing rough-ins are completed and inspected before you start hanging sheetrock.
Measuring and Cutting Sheetrock
Accurate measuring and cutting are crucial to achieving a professional finish. Measure each wall or ceiling section precisely, accounting for openings such as windows, doors, outlets, and switches. Mark your cut lines using a T-square. Score the front side of the sheetrock along the marked line with a utility knife, snap the sheet backward along the score, and cut the back paper to separate the piece cleanly.
Installing Sheetrock on Ceilings
Start with ceiling installation to create tight seams at the top of walls. Use a drywall lift to position the sheets safely and securely. Place sheets perpendicular to ceiling joists for greater structural strength. Fasten the sheets with drywall screws spaced every 12 inches along the joists, ensuring that screw heads are recessed slightly below the surface without tearing the paper layer.
Installing Sheetrock on Walls
After ceilings, install sheetrock on the walls. Begin with the top row, placing sheets horizontally to reduce seams and improve structural stability. Stagger vertical joints between rows to avoid continuous seams, which can weaken the structure and show through finishes. Fasten the sheets to studs using drywall screws every 16 inches, ensuring all edges are secured to framing members.
Taping
Once all sheets are installed, it’s time to tape and mud the joints. Apply a thin layer of joint compound over seams with a taping knife, embed drywall tape into the wet compound, and smooth out any excess. After the first coat dries, apply a second coat extending wider than the first to feather the edges. Finish with a third coat, feathering even further for a seamless surface.
Covering Screw Heads and Corners
Cover all screw heads with joint compound, ensuring they are flush with the surface. For external corners, install metal or vinyl corner beads secured with screws or compound, then cover with joint compound in the same manner as seams to create clean, durable corners.
Finishing
Once the final coat of joint compound is completely dry, sand all seams, corners, and screw spots using a pole sander or sanding sponge to achieve a smooth, flawless surface. Always wear a mask and goggles during sanding to protect yourself from dust. After sanding, apply primer to seal the sheetrock and prepare it for painting, ensuring uniform paint absorption and a professional finish.
Final Thoughts
Sheetrock installation is a crucial part of any construction or remodeling project. Proper installation provides smooth, strong, and long-lasting walls and ceilings ready for finishing. Whether you are building a new home or upgrading a commercial space, following these systematic steps ensures your sheetrock installation is done efficiently and professionally, enhancing the durability and aesthetics of your property.
