 Blog
BlogPreparing a wall the right way before replacing drywall section work begins can save time, money, and frustration. Many people jump straight into cutting and fitting new panels, only to realize later that uneven edges, hidden moisture, or loose framing cause problems. I have seen this happen in my own home after a small plumbing leak. I rushed the process and paid for it twice. Proper preparation matters. When replacing a section of drywall, the steps you take before installation determine how smooth and long lasting the final surface will be.
Understanding the Scope of the Wall Area
Before touching any tools, step back and study the damaged wall. This first stage sets the tone for the entire replacing drywall section process. Look beyond what is visible on the surface.
Checking the Surrounding Materials
Drywall does not exist alone. It connects to studs, insulation, and sometimes electrical or plumbing elements. Make sure the surrounding areas are solid and dry. Soft wood or damp insulation can affect how well the new panel sits. This is a common issue in bathrooms and kitchens.
Deciding the Right Size to Remove
It is tempting to cut out only the smallest possible area. In reality, removing a slightly larger, clean rectangle often leads to a better finish. Straight edges aligned with studs provide a stable base for replacing drywall section tasks and help avoid uneven seams later.
Clearing and Protecting the Workspace
Preparation is not just about the wall. Your work area deserves attention too. A clean and organized space allows you to focus and work efficiently.
Removing Obstacles and Covering Surfaces
Furniture, wall decor, and floor coverings should be moved or protected. Dust travels farther than expected. I once found fine white powder inside a closed drawer across the room. Use drop cloths and plastic sheets to contain debris.
Safety Considerations
Turn off power to the area if outlets or switches are nearby. Safety glasses and gloves are not optional. Replacing drywall can create sharp edges and falling debris, so treat the space with respect.
Inspecting the Wall Structure Beneath
Once the damaged drywall is removed, the wall cavity becomes visible. This stage is often overlooked but is essential for quality results.
Examining Stud Alignment
Studs should be straight and firmly attached. Warped or loose framing can cause the new panel to bow or crack over time. Use a level to check alignment and make adjustments if needed.
Addressing Moisture and Insulation Issues
Any sign of moisture means you should pause. Damp areas must dry completely before moving forward. Insulation should be evenly placed without gaps. A stable base supports successful replacing drywall section outcomes.
Preparing the Edges for a Seamless Fit
Clean edges are the foundation of a smooth wall surface. Rushed cuts create more work later.
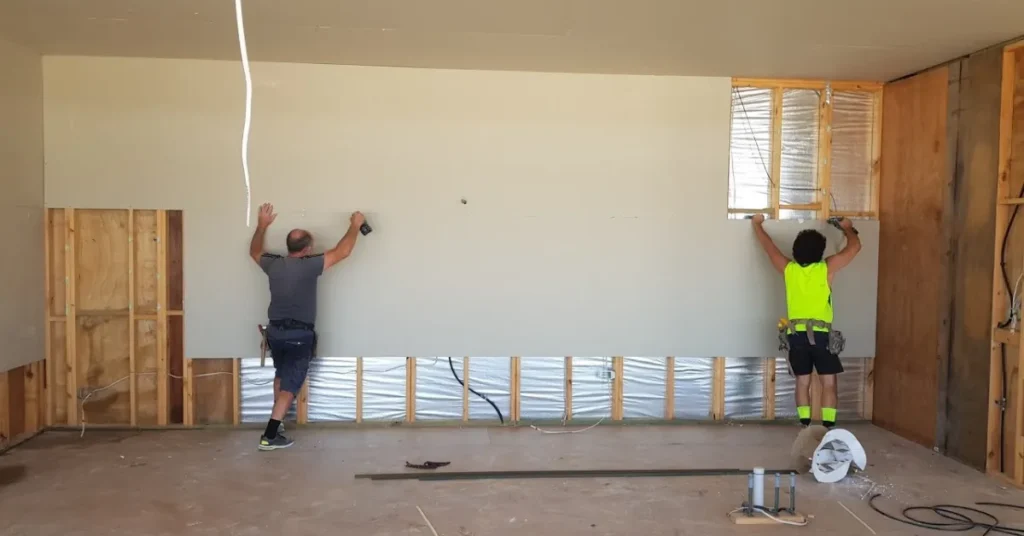
Trimming for Clean Lines
Use a sharp utility knife to square off rough edges. Clean lines allow the new panel to sit flush with the existing wall. This step directly impacts how natural the final surface looks.
Securing Backing Support
If the opening does not land on studs, install backing strips inside the wall. These provide attachment points for screws and prevent movement. This is a key step in how to replace drywall properly without future issues.
Final Surface Preparation Before Installation
With the wall structure ready, focus on the finishing touches that ensure success.
Cleaning Dust and Debris
Vacuum the area and wipe surfaces with a dry cloth. Dust can interfere with adhesion and alignment. A clean surface makes new drywall replacement smoother and more predictable.
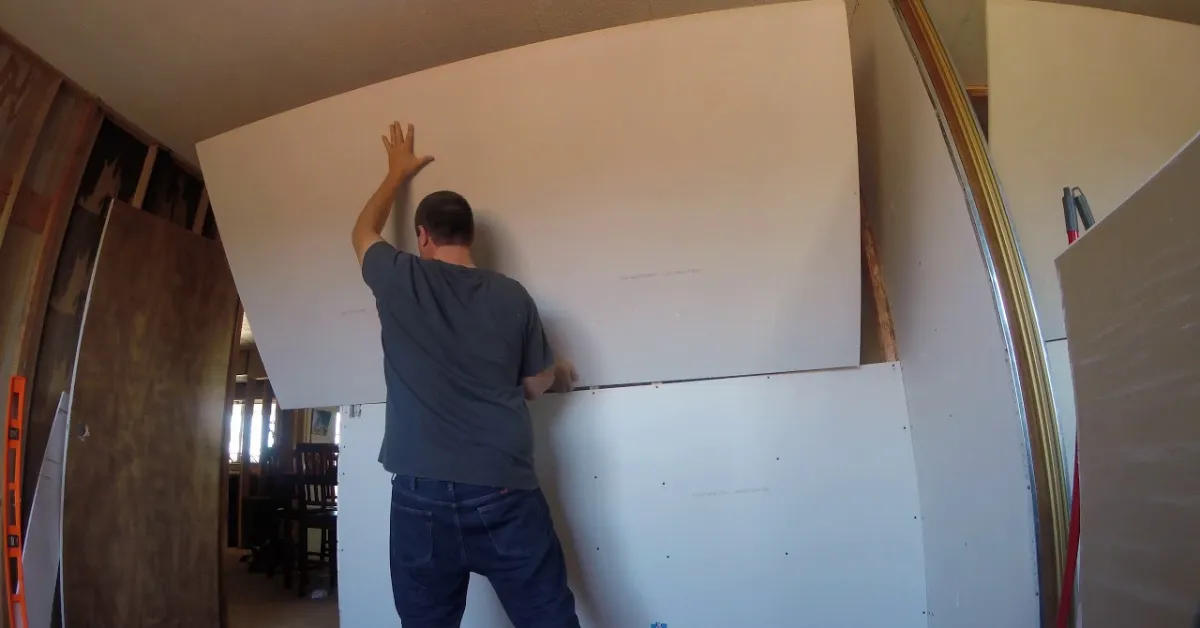
Test Fitting the Panel
Before securing anything, place the new panel into the opening. Check for tight fits and flush alignment. Small adjustments now prevent frustration later. Think of this as a dress rehearsal before the main event of replacing drywall section work.
FAQ Section
What is the most common mistake when preparing walls?
Skipping structural checks is the biggest issue. People focus on the surface and ignore studs or moisture, which leads to poor results when using a replacement for drywall.
How long should the wall dry before adding new material?
It depends on the cause of moisture, but the area should feel completely dry to the touch. Rushing this step can compromise replacing drywall section quality.
Can I prepare a wall without professional tools?
Basic tools are enough for preparation. A level, knife, and measuring tape handle most needs during replacing drywall section tasks.
Is it better to remove more drywall than necessary?
Removing a slightly larger area often creates cleaner edges and stronger attachment points. This approach supports smoother replacing drywall section results.
Do I need experience to prepare walls correctly?
Careful planning and patience matter more than experience. Understanding how materials interact makes replacing drywall sections work far more manageable.
Conclusion and Call to Action
Proper wall preparation is the hidden factor behind a clean and lasting finish. From checking the framing to cleaning the final surface, each step plays a role in successful replacing drywall section projects. Skipping preparation leads to visible flaws and wasted effort. If you want results that look right the first time, trust the process and take preparation seriously. For homeowners who prefer expert guidance and dependable outcomes, AGP Drywall Replacement Services offers professional support to ensure every replacing drywall section project starts and ends the right way.
