 Blog
BlogLearning how to mud walls drywall can seem intimidating at first, but with the right approach, it is a skill anyone can master. Drywall how to mud correctly is essential for achieving smooth, professional-looking walls. Whether you are finishing a new room or giving your space a refreshed look, understanding the proper technique can save you time, effort, and frustration. With patience and attention to detail, your walls can have a seamless finish that looks polished and inviting.
Understanding the Basics of Drywall Mudding
Before diving into mudding, it is crucial to understand what the process entails. Drywall mud, also called joint compound, fills the seams between drywall sheets, covering screws and imperfections. Applying the mud in thin layers ensures even drying and reduces cracking. The key is to approach it step by step rather than trying to rush through. Each layer builds on the last, gradually transforming rough seams into smooth walls.
Tools You Will Need
Mudding drywall requires a few essential tools that make the process manageable. You will need a wide drywall knife, a mud pan, and sandpaper or a sanding sponge for finishing. A hawk can also be helpful for holding your joint compound as you work. Choosing the right tools for the job improves accuracy and makes the process faster and more enjoyable. Even a small investment in quality tools can make a noticeable difference in your results.
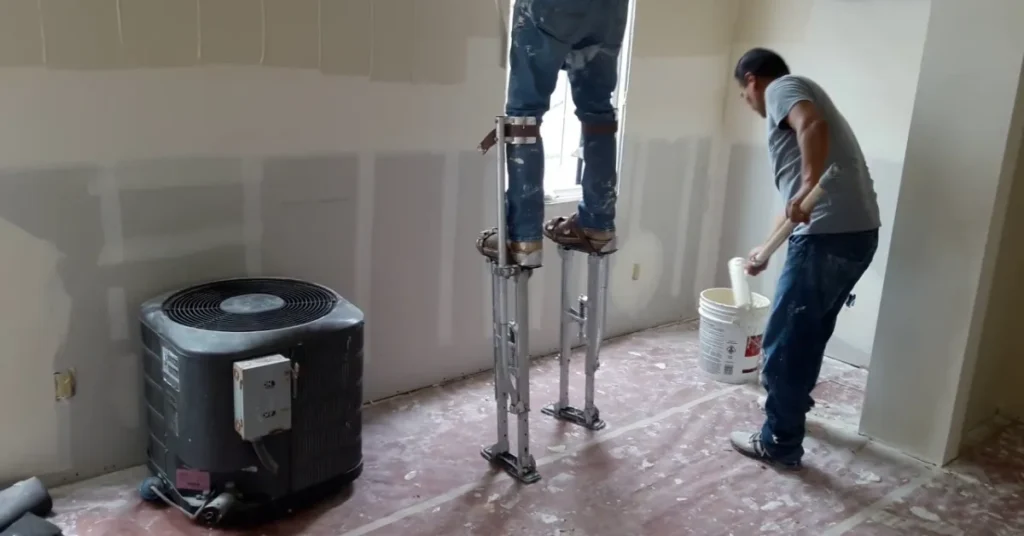
Preparing Walls for Mudding
Preparation is often overlooked, but it is critical to a successful finish. Start by making sure all drywall panels are securely fastened. Check that screws are slightly recessed below the surface and that there are no gaps between sheets. Dust and debris should be removed to allow the mud to adhere properly. A clean wall prevents imperfections and reduces the likelihood of sanding excessively later. Good preparation sets the stage for a smooth, professional finish.
Mixing and Applying Joint Compound
Mixing drywall mud to the right consistency is another key step. Some joint compounds come pre-mixed, but powder varieties need water to reach a creamy texture. Aim for a consistency similar to thick yogurt; too runny, and it will drip, too thick, and it becomes hard to spread. Apply a thin layer over seams and screw heads with your drywall knife. Feather the edges to blend the compound into the wall naturally. Several thin layers work better than one thick layer, which can crack as it dries.
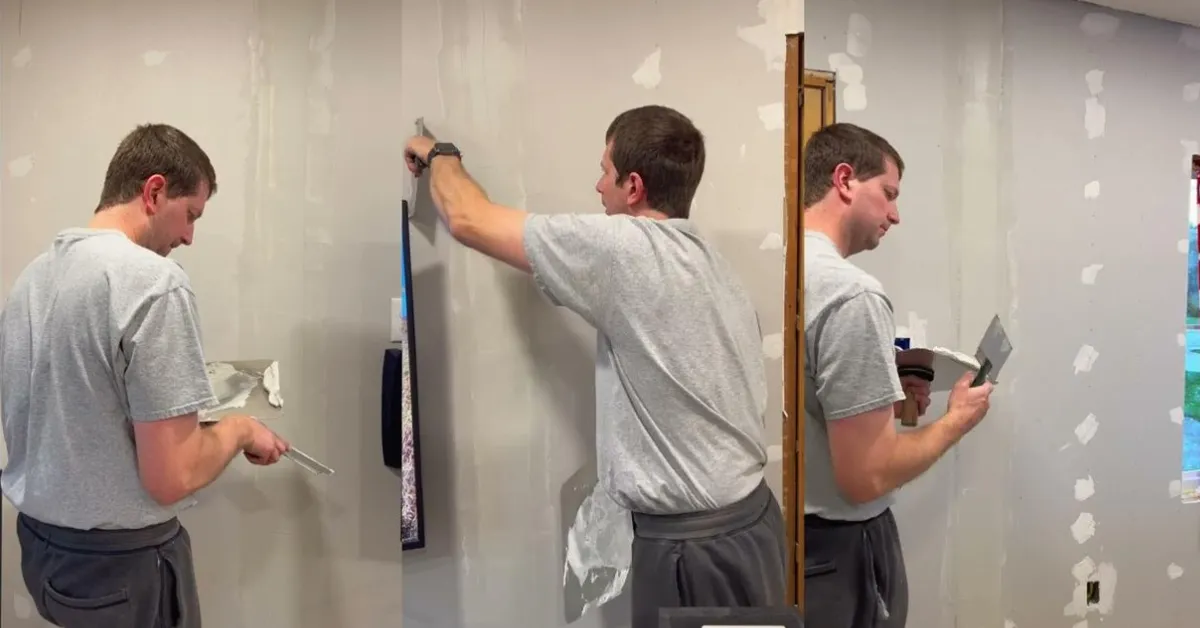
Techniques for Smooth Drywall Mudding
Smooth mudding is achieved through technique and patience. Start by applying the compound to the seams and pressing it gently into the gaps. Use overlapping strokes to create an even surface. Let each layer dry completely before applying the next. Drying times vary based on humidity and temperature, so it is important to plan your work accordingly. Sanding between layers can help remove ridges and bumps, but do it lightly to avoid creating indentations that will need additional filling.
Avoiding Common Mistakes
Even experienced DIYers can make mistakes while mudding. Common issues include applying too much mud at once, skipping sanding, or neglecting corners. Watch for air bubbles or uneven coverage, which can show up after painting. Using consistent pressure with your drywall knife helps maintain a smooth finish. If a section looks uneven, it is better to reapply a thin coat rather than trying to sand it excessively. Proper technique prevents frustration and ensures long-lasting results.
Sanding and Finishing Walls
Sanding is the final step before painting and requires a gentle touch. Use fine-grit sandpaper or a sanding sponge to smooth the surface without creating scratches. Wipe away dust after sanding to prepare the wall for primer and paint. This step is critical because even small imperfections can be magnified once painted. Take your time, inspect your work from different angles, and adjust as needed. Smooth walls make any room feel cleaner and more polished.
Tips for Tight Corners and Edges
Corners and edges require extra attention. Apply mud carefully to ensure a clean line, and consider using corner tools for a professional edge. Feathering the mud into corners prevents noticeable seams, creating a continuous look. Small touch-ups at this stage can make a big difference in the overall appearance of your walls. Paying attention to these details elevates your work from good to professional-quality.
Maintenance and Longevity
Once your walls are fully mudded and painted, proper care ensures they last. Avoid hanging heavy objects immediately, as screws can loosen the compound if it has not fully cured. Keep humidity levels stable to prevent cracking, and touch up minor imperfections as needed. With a bit of attention, your walls can remain smooth and attractive for years.
Quick Maintenance Tips
- Clean walls gently with a damp cloth when needed
- Avoid direct impact on newly mudded surfaces
- Inspect corners periodically for minor cracks
- Reapply a thin layer of compound to small blemishes
Frequently Asked Questions
How do I get a professional finish when mudding drywall
Use thin layers of mud, feather edges, sand between coats, and ensure each layer dries completely. Patience is more important than speed.
Can I mud over painted drywall
Yes, but lightly sand the surface first to remove gloss. This ensures proper adhesion and a smooth finish.
What type of joint compound is best for beginners
Pre-mixed joint compound is easiest for first-time mudding, as it requires no additional mixing and has a consistent texture.
How long should I wait between coats of mud
Typically, allow 12 to 24 hours for each coat to dry fully. Drying time depends on temperature, humidity, and thickness of the layer.
Is sanding necessary after every coat
Light sanding between coats helps remove imperfections, but heavy sanding can damage the layer. Use gentle, even strokes.
Conclusion
Mastering how to mud walls drywall requires patience, the right tools, and proper technique. By following these steps, anyone can achieve smooth, professional-looking walls. From preparation to finishing touches, each stage plays a vital role in the final result. If you are serious about getting flawless walls with minimal frustration, consider professional guidance when needed. Companies like AGP Drywall Mudding have the experience to ensure your drywall looks polished and lasting. Take your time, focus on precision, and you will be rewarded with walls that look clean, seamless, and ready for any decor.
