 Blog
BlogHanging sheetrock can be intimidating for anyone tackling a DIY project or even a professional looking to save time. With the right sheetrock hanging tips, the process becomes smoother, more efficient, and far less frustrating. Knowing how to hang sheetrock on ceilings, deciding whether to hang sheetrock vertically or horizontally, and using proper techniques will save you countless hours of work and prevent the most common installation errors.
Whether you’re building new walls, finishing a basement, or upgrading your home’s interior, mastering the basics of hanging sheetrock ensures a professional-looking result. From handling large panels to choosing the right tools, every step matters when it comes to achieving smooth, even walls and ceilings.
Choosing the Right Sheetrock and Tools
Selecting the proper materials is the first step in hanging sheetrock efficiently. Not all drywall sheets are created equal, and understanding their differences can save you headaches later. Standard 4×8-foot panels are versatile for most walls, but taller ceilings often benefit from 4×12-foot sheets to reduce seams. For ceilings, consider lighter or specialized ceiling drywall to ease lifting and reduce sagging.
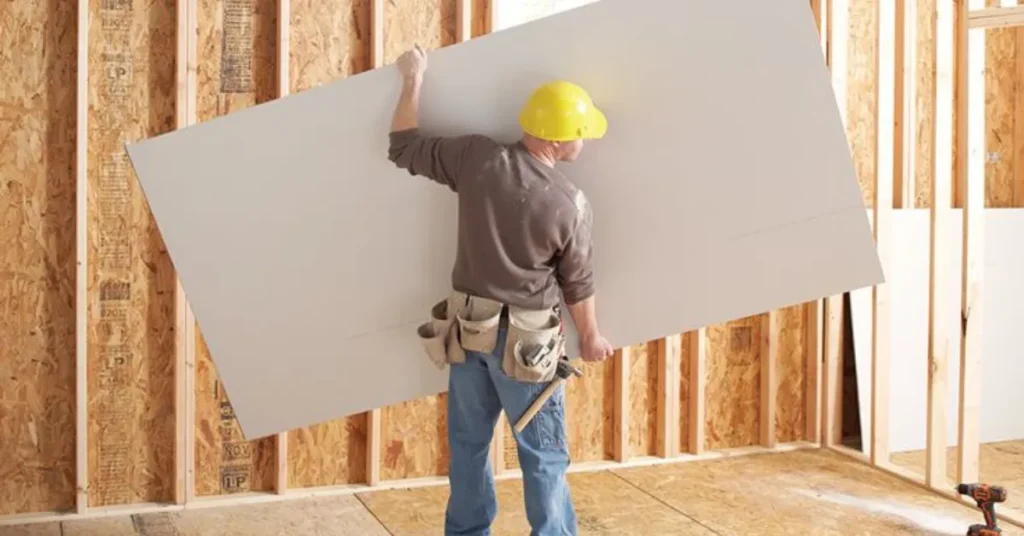
When it comes to tools, a few essentials make all the difference: a drywall T-square, utility knife, drywall screws, screw gun, and a drywall lift for ceilings. A drywall lift is particularly useful when hanging sheetrock on ceilings, allowing one person to manage large panels safely. Using the right tools not only speeds up installation but also prevents uneven surfaces and unnecessary stress.
Preparing Walls and Ceilings Properly
Preparation is key before any sheetrock hanging begins. Walls and ceilings should be checked for level and flatness. Any uneven studs can cause panels to bow, creating unsightly bumps. Mark the studs and joists clearly to make aligning your sheets easier.
For ceilings, start by installing panels perpendicular to the joists. This ensures better support and reduces sag over time. Tack panels loosely at first, then secure screws in a systematic pattern to avoid cracking. Proper prep also includes cleaning the area, removing nails or screws sticking out, and ensuring there’s enough space to maneuver large drywall sheets without scraping paint or creating dents.
How to Hang Sheetrock Vertically or Horizontally
Deciding whether to hang sheetrock vertically or horizontally depends on the space and the type of wall. Hanging sheetrock vertically is generally preferred for taller walls, as it reduces the number of seams and provides stronger structural support. Horizontal installation works well for standard-height walls, creating a more uniform appearance and simplifying joint finishing.
Start at one corner and fit the panel snugly against the previous wall or ceiling edge. Use a consistent screw spacing pattern to secure the panels, usually every 12 to 16 inches along studs. Avoid over-tightening screws, which can crack the drywall surface. If you’re unsure, test a small section first to see how the panels align and whether vertical or horizontal placement works better for the room.
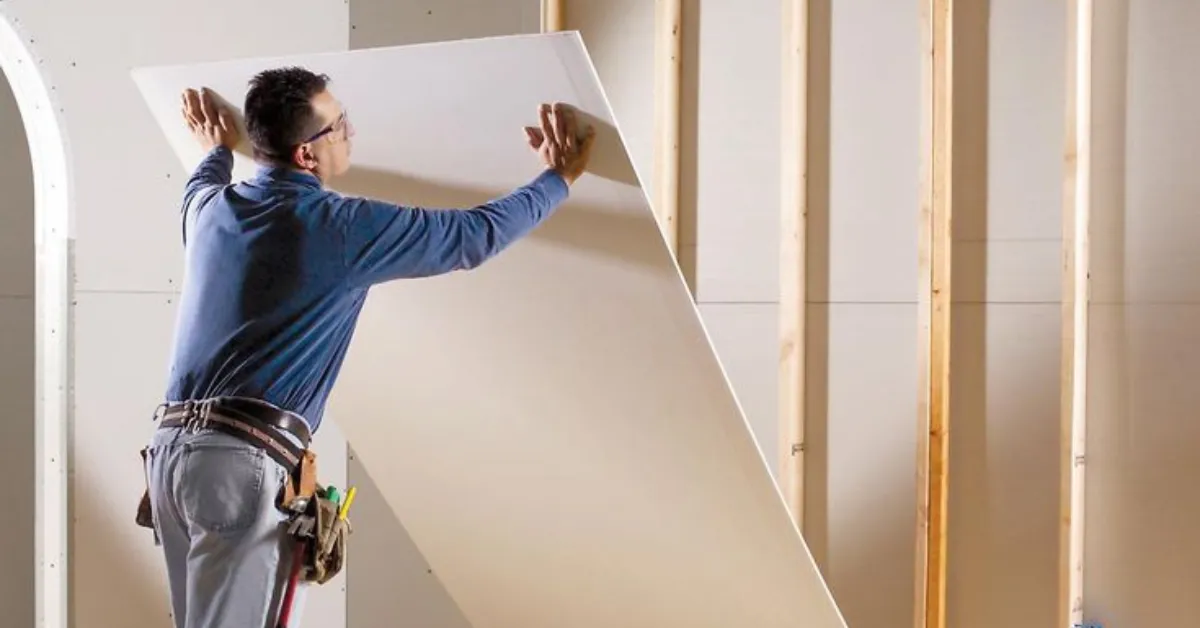
Hanging Sheetrock on Ceilings
Ceilings are the trickiest part of drywall installation. Gravity is not your friend, and lifting heavy sheets overhead can be exhausting without help or proper equipment. A drywall lift allows one person to hold and position the sheet perfectly. If lifting manually, get a partner to help, and always brace panels at the correct angles to avoid cracks or falling sheets.
Start from one side of the room and work across systematically. Position the panels perpendicular to the ceiling joists for maximum strength, and keep seams staggered to reduce weak spots. Screws should be slightly recessed without breaking the paper surface. A little patience at this stage prevents sagging or future alignment problems, ensuring a clean, professional ceiling.
Avoiding Common Hanging Sheetrock Mistakes
Many mistakes during sheetrock installation are preventable. Over-tightening screws, misaligned seams, or poor panel orientation can make finishing much harder. Here are some key points to keep in mind:
- Always check that studs and joists are level before attaching panels.
- Stagger seams to avoid long continuous joints that crack easily.
- Use proper screw spacing and avoid countersinking too deep.
- Handle panels carefully to prevent dents and edge damage.
- Consider using a drywall lift or extra hands for heavy or ceiling sheets.
Following these steps and focusing on alignment and support will help avoid frustrating issues that slow progress and compromise quality.
Finishing Touches for Smooth Walls
Once all sheets are hung, the next step is preparing surfaces for finishing touches like mudding and sanding. Clean up screw indentations and ensure edges meet evenly. Properly fitted panels mean less joint compound is needed and smoother surfaces overall. Even minor gaps between sheets can cause visible lines after painting, so tight, precise placement is worth the effort.
Maintaining a consistent approach across all walls and ceilings reduces stress when taping and finishing seams. For those handling large projects, keeping panels organized by wall section can streamline work and prevent wasted cuts or adjustments.
FAQ
What is the best way to hang sheetrock on a ceiling
Use a drywall lift or a partner to hold panels in place. Position panels perpendicular to joists and secure screws systematically to prevent sagging.
Should I hang sheetrock vertically or horizontally
Vertical installation is ideal for tall walls, while horizontal works well for standard-height walls. Stagger seams for both approaches to increase stability.
What are common mistakes when hanging sheetrock
Over-tightening screws, misaligned seams, and ignoring stud placement are frequent errors. Careful planning and proper tools prevent these issues.
How do I know which sheetrock to use
Standard 4×8-foot sheets are versatile, but ceilings may require lighter or specialized panels. Taller walls benefit from longer sheets to minimize seams.
Are there tips for easier sheetrock hanging
Mark studs and joists, use a drywall lift for ceilings, and work systematically from one corner. Avoid rushing to reduce dents or alignment problems.
Conclusion
Hanging sheetrock doesn’t have to be stressful or messy. By following these techniques, from proper panel selection to careful ceiling installation, you can avoid common mistakes and achieve a professional-looking result. Remember to consider vertical versus horizontal placement, take time prepping walls and ceilings, and use the right tools for the job. With attention to detail, patience, and a methodical approach, hanging sheetrock becomes a manageable and even satisfying task. For anyone looking to get expert guidance or hands-on help, AGP Drywall and sheetrock provides professional services and insights to make every project smoother and more efficient.
