 Blog
BlogAchieving flawless walls starts with mastering drywall taping mud. Whether you’re a seasoned professional or tackling a home project, knowing the right techniques for taping and mudding drywall can save time and effort. The process of mud and taping drywall ensures seams, corners, and screw holes are smooth, creating a surface that’s ready for paint or wallpaper. Proper technique turns a frustrating job into a satisfying, professional-looking finish.
Understanding the Basics of Drywall Taping and Mudding
Before starting, it’s important to understand the fundamentals of drywall taping and mudding. This is more than spreading mud; it’s about preparing walls for durability and visual perfection.
The Role of Joint Compound
The joint compound, or mud, fills gaps between drywall sheets and hides fasteners. Getting the right consistency is crucial: too thick leads to cracking, too thin can sag. Stir thoroughly before use, whether you choose pre-mixed or powder forms.
Essential Tools
A few key tools make a big difference:
- Taping knives of different widths
- Mud pan
- Corner trowels
- Sanding blocks or sponges
Having proper tools helps ensure even layers and smooth finishes without unnecessary sanding.
Preparing Drywall for a Smooth Finish
Preparation is critical to achieving a seamless drywall mud and taping result. Skipping this step leads to cracks, bumps, or uneven textures.
Cleaning and Priming
Remove dust, dirt, and debris from the drywall. Even tiny particles can create imperfections. For new drywall, lightly misting the seams can slow drying and reduce cracking.
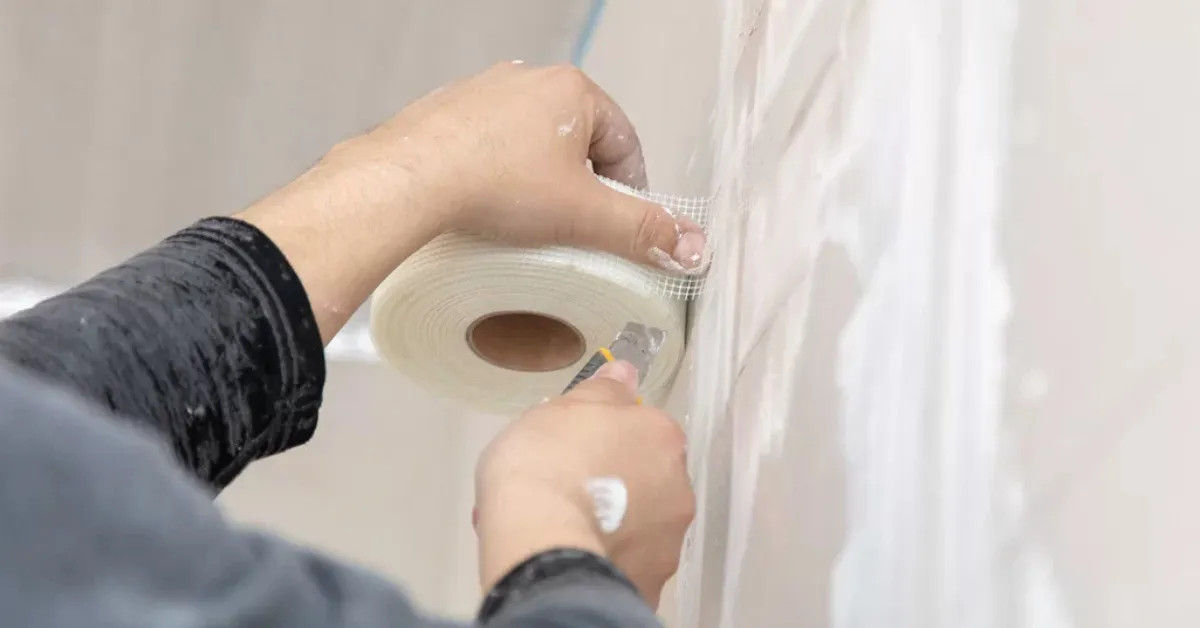
Proper Taping Technique
Correct taping is the foundation of mud and taping drywall. Paper tape works best for straight seams, while fiberglass mesh handles corners or areas prone to cracks. Embed the tape into a thin mud layer and smooth it to eliminate bubbles.
Applying Multiple Coats for a Professional Finish
A flawless wall rarely comes from one coat. The secret is layering thin, controlled coats.
First Coat: Embedding the Tape
The initial layer is mainly for embedding tape and filling larger gaps. Apply lightly, pressing gently to remove excess mud. Dry completely before the next coat, which can take up to 24 hours depending on humidity.
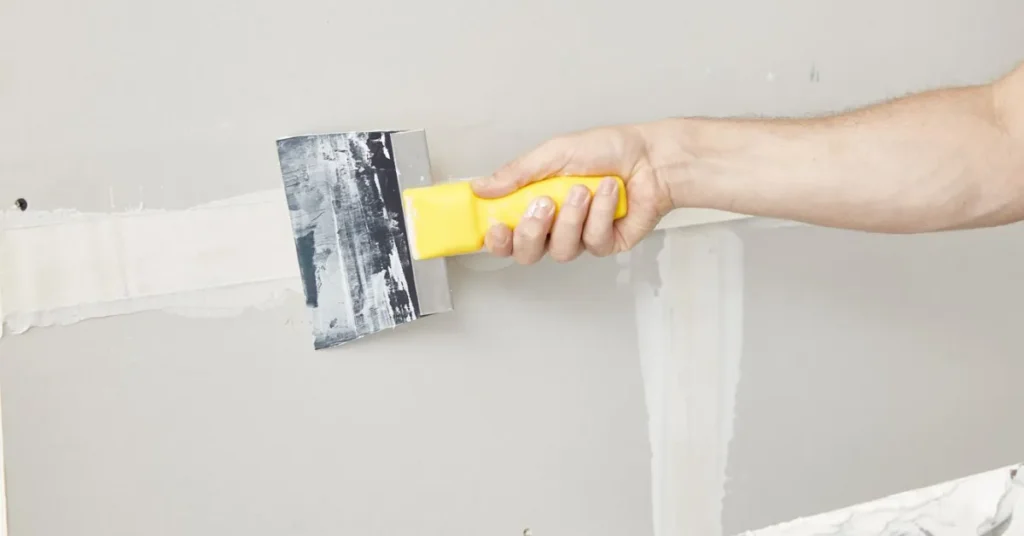
Second Coat: Smoothing and Filling
Use a wider knife to cover the seams. Feather edges to blend with the wall surface. This coat reduces ridges and bumps, giving the wall a more uniform look.
Final Coat: Perfecting the Finish
The last coat is all about subtle perfection. Thin layers, light sanding between coats, and careful feathering make seams almost invisible. This is the stage where drywall taping mud truly shows its magic.
Sanding and Polishing Like a Pro
Sanding transforms walls from rough to ready-for-paint. Over-sanding can ruin tape or create dips, so approach carefully.
Sanding Tips
- Use fine-grit sanding sponges
- Sand in gentle circular motions
- Wear a mask to avoid dust inhalation
- Mist lightly to reduce dust if necessary
Inspect walls under strong light to catch imperfections. Smooth, even surfaces ensure your paint job looks professional and lasts.
Avoiding Common Mistakes
Even experienced DIYers make errors during drywall taping and mudding. Watch out for:
- Thick first coats causing cracks
- Skipping drying times between layers
- Using the wrong tape for specific areas
- Not cleaning tools between coats
Maintenance Tips for Lasting Walls
After completing drywall mud and taping, proper maintenance ensures your walls stay pristine.
- Control humidity to prevent cracking
- Use anchors for heavy objects rather than nails on seams
- Repair minor dents promptly
- Clean gently with a soft, damp cloth
These small steps preserve the smooth finish, saving time and money in the long run.
FAQ on Drywall Taping Mud
What is the difference between mud and taping drywall?
Mud is the joint compound filling seams, while taping embeds tape to prevent cracking. Together, mud and taping drywall create a smooth, durable surface.
Can I use fiberglass mesh tape instead of paper tape?
Yes. Fiberglass mesh tape works well for corners and stress-prone areas, while paper tape is ideal for straight seams.
How many coats of drywall mud are needed?
Typically, three coats: one for embedding tape, one for filling, and a final coat for smoothing edges.
How can I prevent cracking in drywall mud?
Apply thin layers, let each coat dry fully, sand lightly, and control room humidity.
Do I need special tools for drywall taping and mudding?
Basic tools like knives, mud pans, and sanding blocks suffice, but quality tools help achieve a smoother, more efficient finish.
Conclusion
Mastering drywall taping mud requires patience, precision, and the right techniques. From preparing surfaces and embedding tape to applying multiple coats and sanding carefully, each step contributes to walls that are smooth, seamless, and professional. Whether you are handling a DIY project or professional job, following these methods ensures long-lasting, flawless results. For expert guidance and impeccable results, AGP Drywall and Taping delivers top-quality drywall taping and mudding services for every project.
