 Blog
BlogInstalling a drywall ceiling may seem straightforward, but even small mistakes can lead to sagging panels, cracks, or uneven finishes. Whether you’re tackling a DIY project or planning a full basement renovation, knowing the right techniques for handling drywall is essential. A properly installed drywall ceiling not only looks professional but also provides a smooth, durable surface that lasts for years.
Choosing the Right Drywall for Your Ceiling
Selecting the correct drywall for ceiling applications is crucial. Ceiling drywall is often lighter than wall panels, which makes installation easier and reduces the risk of sagging over time. For most ceilings, a thickness of 1/2 inch works well, though areas like basements or rooms with higher humidity may benefit from moisture-resistant sheets.
Drywall Basement Ceiling Considerations
When working on a basement ceiling, you may encounter joists that are uneven or ceilings that are lower than standard. Opting for thinner drywall sheets can make handling easier in tight spaces. Using the right ceiling drywall ensures the panels sit flush and remain stable over time.
Ceiling Drywall Thickness
While wall drywall is typically 1/2 inch, some ceilings may require 5/8 inch panels, especially in rooms with wider joist spacing. Thicker panels help prevent sagging and improve sound insulation. Always measure your ceiling joists and room height before choosing your drywall thickness to avoid problems later.
Preparing Your Ceiling for Installation
Preparation is often overlooked, but it can make or break a drywall project. Start by ensuring all ceiling joists are level and clear of obstructions. Remove old fixtures, debris, or loose insulation that could interfere with panel placement.
Marking and Layout
Carefully measure and mark where each drywall sheet will go. A common mistake is to ignore the spacing and end up with awkward seams. Staggering joints and keeping them away from the center of the room will improve both strength and appearance.
Tools and Safety
Working overhead can be tough on your arms and neck. Investing in a drywall lift or asking a friend for help can save a lot of frustration. Always wear protective eyewear, gloves, and a dust mask. A solid preparation phase sets the stage for smooth installation.
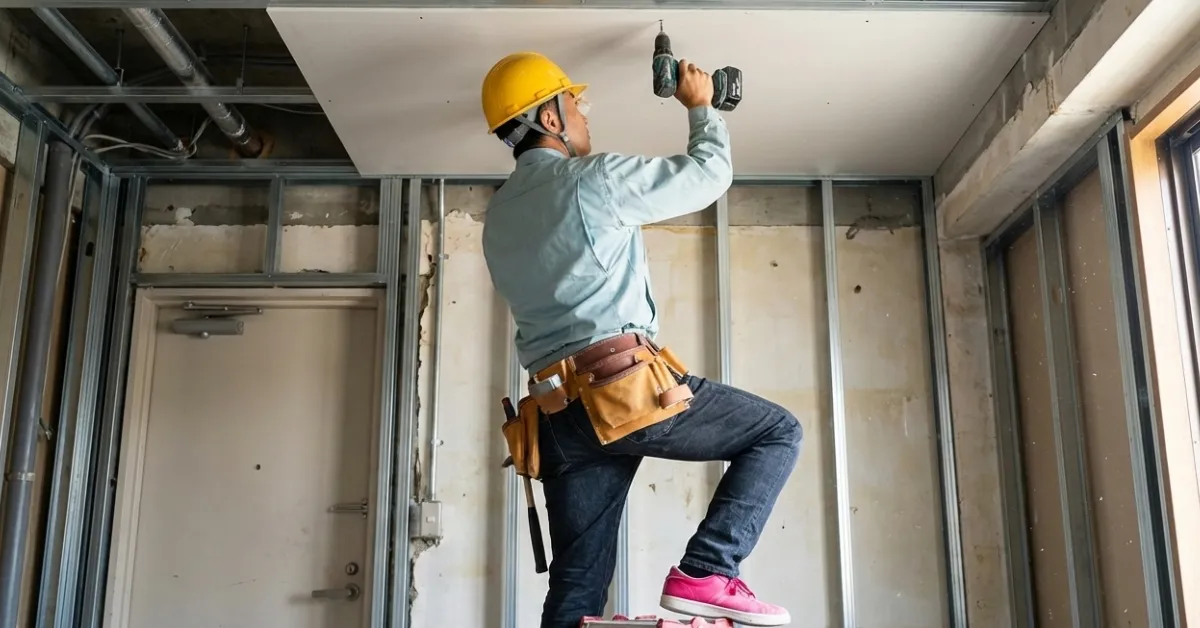
Hanging Drywall on a Ceiling
The actual hanging process requires patience and precision. Holding a panel overhead can be exhausting, so using tools or support braces is highly recommended. Position the sheet perpendicular to the joists for maximum stability.
Screw Placement and Fastening
Use drywall screws spaced about 12 inches apart along the joists. Avoid over-tightening, as it can crack the drywall surface. Keeping screws slightly recessed ensures easier finishing with joint compound.
Handling Large Sheets
Large drywall panels can be unwieldy. If you’re working alone, cut panels into manageable sections. Having a second set of hands makes a significant difference when aligning and fastening ceiling drywall.
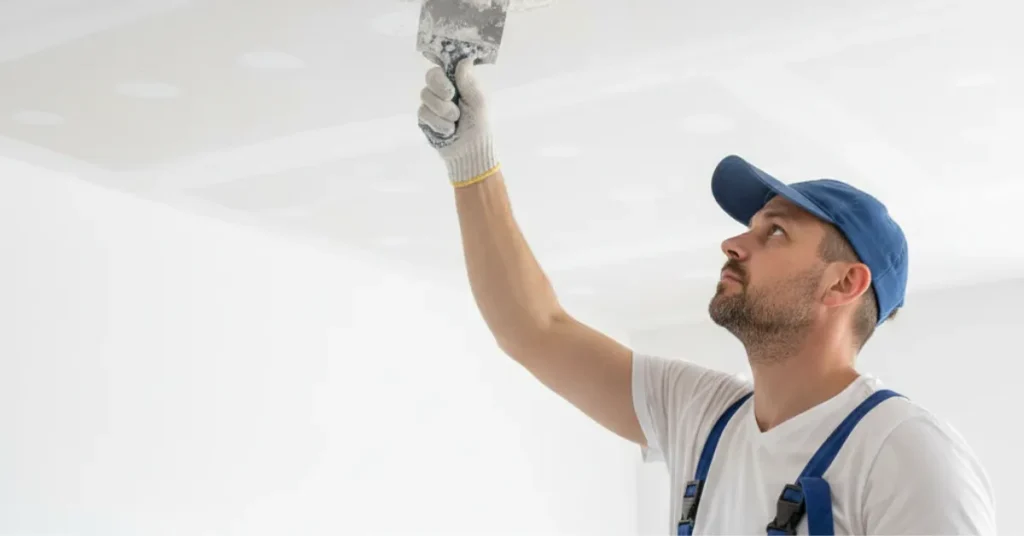
Finishing Your Drywall Ceiling
Once all panels are installed, the finishing process begins. Apply joint tape and compound over seams and screw heads to create a seamless surface. Sanding lightly between coats ensures smoothness without damaging the panels.
Texturing and Painting
After the compound dries, you can add texture if desired. Some homeowners prefer a simple knockdown or orange peel finish to hide minor imperfections. Once textured or smoothed, priming and painting your drywall ceiling completes the look.
Maintenance Tips
Properly installed ceilings require minimal upkeep. Regularly check for signs of sagging or water intrusion, especially in basements. Keeping humidity under control and addressing leaks early prevents long-term issues with ceiling drywall.
Common Challenges and How to Avoid Them
Even experienced installers run into challenges. Sagging panels, uneven seams, or over-tightened screws are common problems. Planning carefully and taking your time mitigates most issues.
Avoiding Sagging
Ceiling drywall sagging often happens when sheets are too thin or joist spacing is too wide. Using the right ceiling drywall thickness and supporting panels temporarily during installation can prevent this.
Seams and Corners
Uneven seams can make even a perfectly hung ceiling look amateurish. Staggering joints, applying tape carefully, and sanding between coats ensures a professional finish.
FAQ Section
How do I hang drywall on a ceiling without it falling?
Use a drywall lift or temporary support braces to hold panels in place while fastening them. Screws should be spaced about 12 inches apart along joists.
What thickness of drywall should I use for a ceiling?
Most ceilings use 1/2 inch panels, but for wider joist spacing or high-humidity areas, 5/8 inch drywall is recommended.
Can I use regular drywall for a basement ceiling?
Yes, but moisture-resistant or lighter drywall sheets are better choices for basement ceilings to avoid sagging or mold growth.
How do I patch ceiling drywall without leaving marks?
Apply joint tape over the seam, cover with compound, and sand between coats for a smooth, seamless finish. Feathering edges prevents noticeable marks.
What tools are essential for installing a drywall ceiling?
Drywall lift, screw gun, tape measure, utility knife, joint tape, joint compound, sanding block, and protective gear are essential for a safe and efficient installation.
Conclusion
Installing a drywall ceiling doesn’t have to be intimidating. With the right preparation, materials, and techniques, even challenging spaces like basements can have smooth, professional results. Remember to select the correct ceiling drywall thickness, use proper supports, and take your time with finishing. Following these proven methods ensures a ceiling that looks great and lasts for years. For expert advice and professional installation services, Contact AGP Drywall Today to bring your ceiling project to life.
