 Blog
BlogDrywall installation is a fundamental process in construction that creates smooth, durable surfaces for walls and ceilings. Below are the professional step-by-step procedures for installing drywall effectively.
Step 1: Preparation
- Inspect the framing to ensure all studs and joists are straight, aligned, and properly spaced (typically 16 inches on center).
- Mark stud locations on the ceiling and floor to guide screw placement during installation.
- Confirm that electrical boxes, insulation, and plumbing rough-ins are in place before starting.
Step 2: Measuring and Cutting
- Measure each section accurately for a precise fit.
- Mark cut lines using a T-square.
- Score the front side of the drywall sheet with a utility knife along the marked line.
- Snap the board backward along the scored line and cut the back paper to separate the piece cleanly.
Step 3: Installing Drywall on Ceilings
- Install ceiling sheets before wall sheets to create a tighter wall-to-ceiling joint.
- Use a drywall lift to position sheets safely and accurately.
- Place sheets perpendicular to ceiling joists for added strength.
- Fasten sheets with drywall screws every 12 inches along joists, ensuring screw heads are slightly recessed without tearing the paper surface.
Step 4: Installing Drywall on Walls
- Begin installing from the top, placing sheets horizontally for fewer seams and greater strength.
- Stagger vertical seams between rows to avoid continuous joints, which improves structural integrity.
- Secure sheets to studs with screws every 16 inches, ensuring edges fall on the center of studs for proper support.
Step 5: Installing Around Openings
- Measure and cut openings for windows, doors, outlets, and switches before hanging sheets.
- Cut out these sections carefully to maintain the integrity of the sheet and ensure a snug fit around frames and boxes.
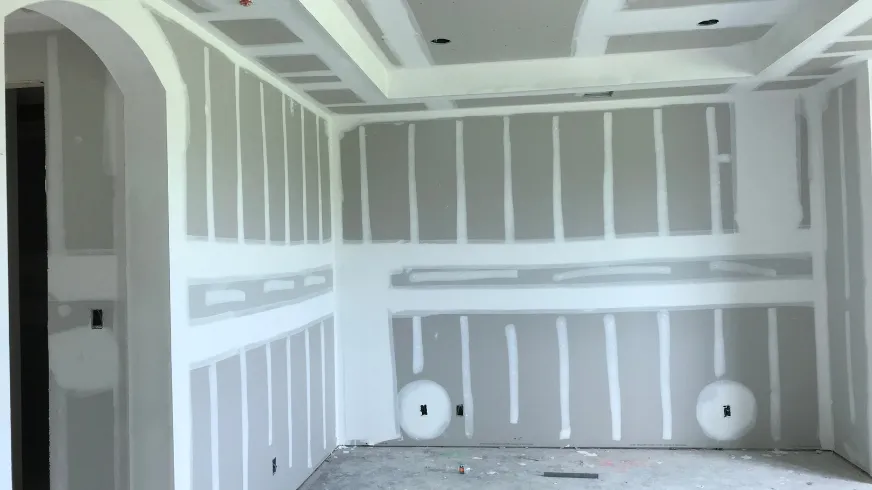
Step 6: Taping Joints
- Apply a thin layer of joint compound over seams using a taping knife.
- Embed drywall tape into the wet compound, pressing firmly to eliminate air bubbles.
- Smooth out excess compound for a flat finish.
Step 7: Applying Additional Coats of Joint Compound
- Apply a second coat of joint compound over the taped seams, extending wider than the first coat to feather the edges.
- Once dry, apply a third coat, feathering even wider to blend seamlessly with the drywall surface.
Step 8: Covering Screws and Corners
- Apply joint compound over all screw heads and smooth out.
- Install metal or vinyl corner beads on external corners, securing them with nails, screws, or compound, then coat with joint compound in the same manner as seams.
Step 9: Sanding
- After the final coat of joint compound is completely dry, sand all seams, screw spots, and corners using a pole sander or sanding sponge.
- Ensure surfaces are smooth and flush with the drywall, with no ridges or tool marks visible.
Step 10: Priming
- Apply drywall primer to seal the surface and prepare it for paint or other finishes.
- Primer helps to highlight any minor imperfections for final touch-ups before completing the project.
Final Notes
Following these systematic drywall installation steps ensures your walls and ceilings are strong, smooth, and ready for finishing. Precision in each stage guarantees professional results that enhance the appearance and longevity of any interior space.
